Struggling with large photo files eating up your storage? You're not alone. Most people run into frustration when they try to upload photos to websites, share them via email, or manage their device storage. The truth is, your camera or smartphone is saving images in formats designed for professional-quality output, but most of the time, you don't need all that data taking up space.
The good news is that you can reduce photo size without any noticeable drop in visual quality. This guide walks you through the practical methods—from free online tools to software options—so you can start compressing your photos right now.
Why You Should Reduce Photo Size?
Before jumping into how, let's cover why this matters. Large image files drain your storage fast. They also make sharing slower and can tank your website performance. If you run a blog or online store, large photo files directly impact how quickly pages load, which affects both user experience and your search engine rankings. Mobile users are especially affected since they have limited data and slower connections.
When you reduce photo size on your images, you're addressing all these problems at once. The goal isn't to make photos look bad—it's to strip away the unnecessary data while keeping them looking sharp to the human eye.
Best Ways to Reduce Photo Size
There are several solid approaches to reducing photo file sizes. The method you choose depends on how many images you're working with and how much control you want over the compression process.
Online Compression Tools for Quick Results
If you only have a handful of photos to compress, online tools are your fastest option. No software installation needed, no learning curve, just upload and download.
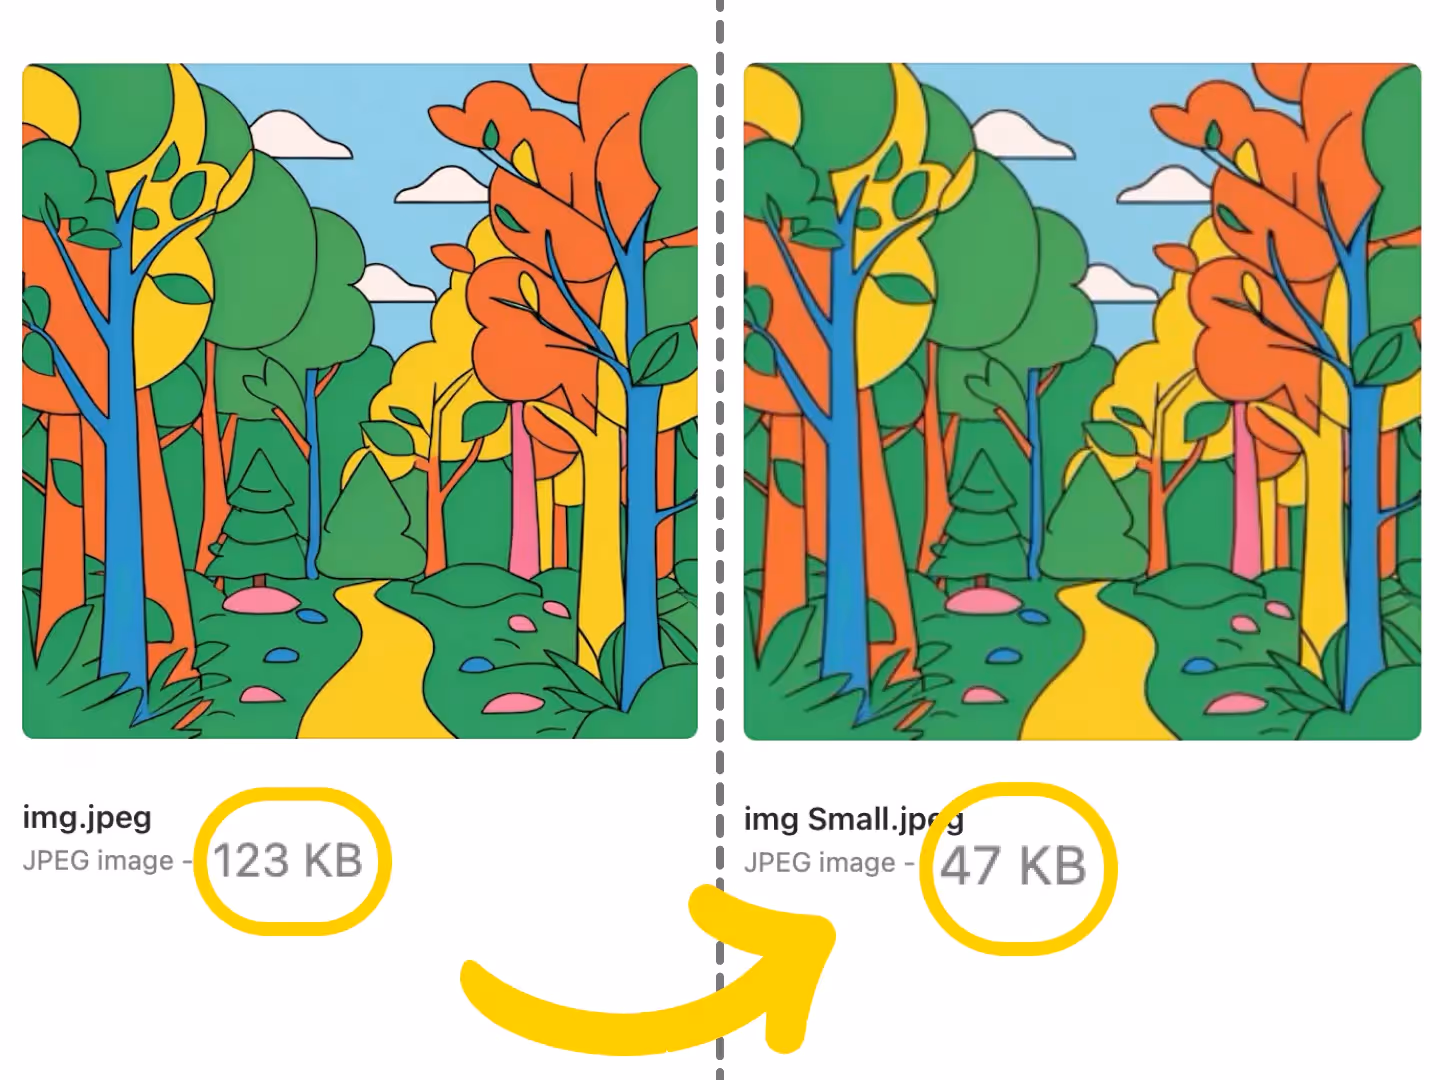
TinyPNG is one of the most popular choices. Despite its name, it compresses both PNG and JPEG files. The process is simple: head to their website, drag your image into the upload box, and the tool automatically shrinks the file while keeping it looking nearly identical. Most users see file size reductions of 50-70%, which is substantial. You can download the compressed version and compare it side-by-side with the original. The quality difference is rarely noticeable.
You can also use Smartli to reduce photo size. Although it’s not a dedicated image compression tool, you can upload your photos to remove backgrounds and watermarks. Removing these elements can reduce file sizes. You can also resize your images with Smartli’s AI photo enhancer. Play around with Smartli’s suite of image editing tools and see for yourself. Smartli lets you try for free and you can always upgrade later to access advanced or more premium features.
ILoveIMG is another solid option that works similarly but lets you compress multiple photos at once. This makes it more efficient if you have a batch to process. Upload your images, hit compress, and download the smaller files. Both tools are free for basic use, making them accessible for anyone who needs to reduce photo size without investing in software.
These tools are perfect when you need a quick fix. But they don't give you much control over compression levels. If you need to tweak settings or work with hundreds of images, other approaches might serve you better.
Using Apps on Your Phone
If you want to reduce photo size directly on your phone without opening a computer, mobile apps are convenient. For iPhone users, Photo Compressor and Resize is straightforward. Open the app, select the photo you want to compress, choose your compression level, and save. You get a preview so you can see what you're getting before you save it.
Android users can try Photo and Picture Resize. After installing, select your image and you'll see options to reduce resolution, adjust quality, or set a specific file size target. The app creates a compressed version while keeping your original safe. Using apps is especially useful if you're regularly sharing photos from your phone and want a fast way to reduce photo size without pulling out your laptop every time.
Try Desktop Software Solutions and Sync to iPhone
For serious image optimization or when you're dealing with large batches, desktop software gives you the control you need.
Windows users can start with Microsoft Paint, believe it or not. Open your photo, click resize, select a smaller percentage for width and height, make sure to link the dimensions to prevent distortion, then save as JPEG. It's simple but effective.
If you want more editing power, GIMP is a free alternative to Photoshop. Open your image, go to File > Export As, choose JPEG, and adjust the quality slider. A setting around 75-85% keeps excellent quality while dropping file size noticeably.

Mac users can use Preview, which is built into the system. Open your image, click Tools, adjust size, reduce the resolution to about 120 pixels on the longest side, then save as JPEG. These methods give you manual control that online tools don't offer.
How to Choose the Right Image File Formats
The format you pick impacts file size significantly. JPEG works great for photos and complex images with many colors—it compresses well while keeping decent quality. PNG is ideal when you need transparency, like logos or graphics, but PNG files tend to be larger. WebP is newer and offers better compression than both JPEG and PNG for web use. AVIF is even more advanced but not yet widely supported.
For general photo sharing and storage, JPEG is your workhorse. For web optimization, WebP is worth exploring if your platform supports it.
Removing Unnecessary Data
Photos often carry metadata—camera settings, GPS location, dates, and other embedded information. While this data can be useful, it adds to file size. Stripping unnecessary metadata doesn't affect how the photo looks but can shave off some file size. Tools like ShortPixel, ExifTool, or even Photoshop's "Save for Web" option can remove this data automatically.
Look for Batch Processing
Here's where things get really efficient. If you have hundreds or thousands of photos, doing them one by one would take forever. Batch processing changes everything.
XN Convert (free for Mac and Windows) and FastStone Photo Resizer let you reduce photo size across dozens of images at once. Open the program, drag all your photos in, click Actions > Transform > Resize, set your preferred size, choose where to save them, and click Convert. The software does the work while you do something else. This approach saves hours of manual work, especially if you regularly manage large photo collections.
Best Image Compression Formats for Photo Size Reductions
Not all compression methods are created equal. Here are the formats and approaches that deliver the best results:
- Lossy compression removes some image data to achieve smaller files. It's faster and creates much smaller files, but if you compress too much, quality drops. JPEG uses lossy compression.
- Lossless compression reduces file size without removing data. Files stay larger than lossy versions, but quality stays perfect. PNG typically uses lossless compression.
- Modern formats like WebP and AVIF offer better compression than traditional formats. They're increasingly supported by browsers and can reduce photo size significantly compared to JPEG or PNG.
The best choice depends on your use case. For photos going online, lossy JPEG or WebP works well. For images you might edit later, lossless PNG or keeping an original backup is smarter. For web use specifically, WebP and AVIF offer the best balance of quality and file size. Play around with different image formats to see what works for your business. Trust us, you won’t regret it.
Common Mistakes to Avoid When Reducing Photo Size
Over-compression is the biggest pitfall. Push compression too hard and your photos look blurry, pixelated, or washed out. Fine details disappear. The trick is finding the sweet spot where file size is reduced noticeably but quality stays acceptable. Most compression tools let you preview before saving—use that feature.
Wrong format choice causes headaches. Using PNG for large photos creates bloated files. Using JPEG for images that need transparency results in a messy background. Think about the image type before compressing.
Losing the original is a mistake you can't undo. Once compressed, getting those details back is impossible. Always keep a high-resolution original saved somewhere safe, especially if you think you'll edit the photo again later. Compression is great for sharing and storage, but your original is insurance.
Ignoring metadata sometimes matters. While removing metadata cuts file size slightly, if you need copyright info or other data, you'll want to keep it. Most tools let you choose what to strip and what to keep. You also want to make it easy to convert your photos into other formats after reducing photo sizes, so try to keep that in mind as well.
How to Reduce Photo Size for Different Situations
For websites and blogs, reduce photo size to the exact dimensions it'll display at. There's no point uploading a 4000-pixel-wide image if it only shows at 800 pixels. WebP format is ideal here for better compression. Lazy loading (loading images only when they come into view) also helps.
For email and messaging, keep files under 1MB for quick delivery on slower networks. Lossy compression works fine here since the image just needs to be clear enough to see. Resizing to fit standard email widths (around 600 pixels) is a smart move.
For social media, stick to each platform's recommended dimensions. Instagram, Facebook, and Twitter each have their own preferences. PNG works for graphics, but JPEG is usually better for photos since it provides smaller file sizes without quality loss.
For print, quality is more important than file size. Keep resolution at 300 DPI and avoid over-compression. TIFF or high-quality PDF exports are better choices here. Your fans and followers will love you if you compress your photos and resize them. Think of those with low internet bandwidth and poor network connectivity, you make your visual content so much more accessible to them!
Conclusion
Learning how to reduce photo size is one of those practical skills that saves time and frustration. Whether you use online tools for a quick fix, mobile apps for on-the-go compression, or desktop software for batch processing, the options are abundant. The key is matching the method to your needs. For casual use, online tools work fine. For regular photo management or large collections, software that handles batch processing is worth the effort to set up.
Always keep your originals backed up, always preview before finalizing, and don't over-compress just to hit a file size target. Balance matters. Your photos should look good and load fast. With the right approach, you can reduce photo size dramatically while keeping the quality that matters to you.
Reduce Photo Size FAQs
How much can I reduce photo size while keeping quality?
Most compression tools can reduce photo size by 50-70% without visible quality loss if you use the right settings. Lossless compression methods preserve all detail. Lossy methods cut more aggressively but might show quality drops if you compress too far. Always preview before saving.
What's the fastest way to reduce photo size for multiple images?
Batch processing tools like XN Convert or FastStone Photo Resizer compress dozens of images in one go. Just drag them in, set your parameters, and let the software work. This saves hours compared to doing each photo individually.
Can I reduce photo size on my phone without an app?
Some phones have built-in compression options in their photos app or settings. However, dedicated apps like Photo Compressor and Resize (iPhone) or Photo and Picture Resize (Android) give you more control and options.
Which format is best for reducing photo size on websites?
WebP offers better compression than JPEG or PNG while maintaining quality, making it ideal for web use. AVIF is even better but not yet universally supported. JPEG is still solid if WebP isn't available on your platform.
How do I reduce photo size without losing important details?
Use lossless compression tools and avoid aggressive compression levels. Preview the compressed image before saving. Keep your original backed up in case you need it again. Tools designed for quality preservation work better than overly aggressive compressors.
Is it safe to reduce photo size using online tools?
Most reputable online tools (TinyPNG, ILoveIMG, ShortPixel) are safe. However, check their privacy policies. Some tools delete images immediately after compression, while others may keep them temporarily. If privacy is a concern, use desktop software instead.
What if I need to reduce photo size for archival storage?
For long-term storage where you might edit photos later, keep originals uncompressed or use lossless compression. Back them up on external drives or cloud storage. For photos you won't edit, lossy compression saves much more space.


.avif)